

Table of contents


No headings in the article.
Hello Everyone, In this blog, We will discuss using Git and Github, various git commands, and their use. We will learn to create a repository, push code, create branches, issues, etc in giithub. So let's start it!
What is Github?
Github is a Cloud-based hosting platform for version control and collaboration. It lets you and others work together on projects from anywhere. You host your project in the repository and showcase your skills and learning. Let's learn how to use GitHub.
Create Repository
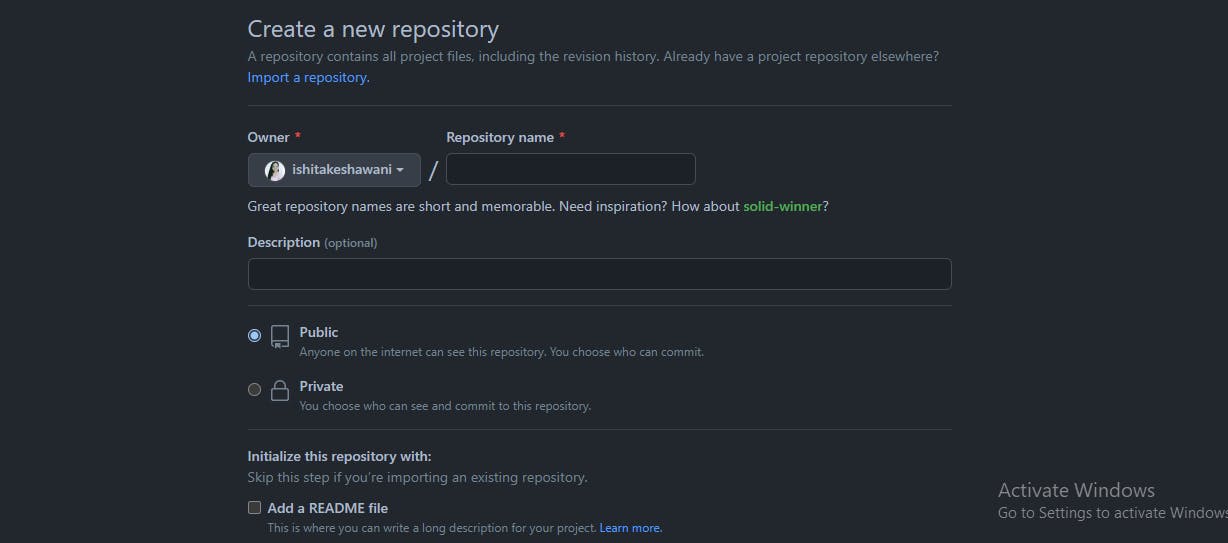
The repository is like a folder in which you can put files, folders, images, spreadsheets, Anything. In the Repository, you can add a readme file in which you can give a description of your project.
- In the upper right corner, next to your avatar, click + and then select New repository.
- Name your Repository and give a short description.
- To initialize the repository with Readme you can select Initialize this repository with a README. In the Readme file, you can put a description, screenshots, and demo video of your project.
Creating a New File
- Go to Add file and Click on Create new file.
- Give a name to your file and Write Information you want to add to the file.
- You can preview your file by clicking on the preview.
- Go to commit the new file and add a commit. Commit is a message which describes changes or works you have done and a user can understand why and what have you done.
- Click on commit new file.
Create a branch
Branching is the way to work on different versions of a repository at one time. By default, your repository has a branch named main. Let's take an example: your application's code is in the repository and it is in the main branch. now you want to add another feature to your application so you should not directly add it to the main code. so you can make another branch and add your feature to that branch. If that feature works fine then you can merge it into the main branch.
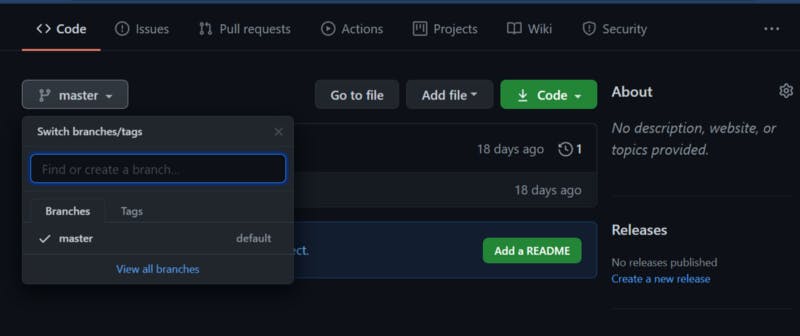
To create a new branch
- Go to your repository.
- Click the drop-down at the top of the file list that says branch: main.
- Type a branch name, Your Branch Name, into the new branch text box.
- Select the blue Create branch box or hit "Enter" on your keyboard.
- the Second branch is a copy of the main branch now you can do changes to others.
Open a Pull Request
If you want to propose a change in another's project or you want to merge your second branch's code in the main branch it is possible with an open pull request.
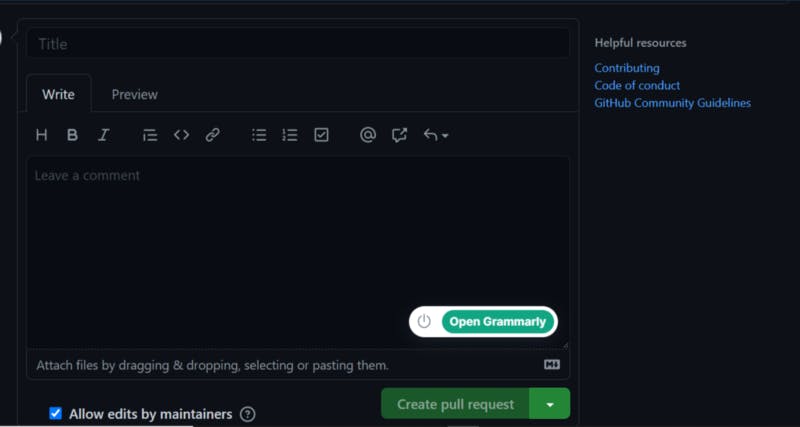
- Go to the Pull Requests tab and click on the new Pull Request.
- Select the branch you want to compare with the original branch.
- Give a short description of why you want to make PR and click on Create Pull Request.
Merge Pull Request
When Someone did PR(Pull Request) in your repository and added necessary changes and you want to merge it in your code then you should merge it.
- Click the green Merge pull request button to merge the changes into the main.
- Click Confirm merge.
Create Issues
Issues are features or changes that can be proposed by viewers in your code. When you find some bug or cool feature for anyone's repository then you can create an issue in that repository on the issues tab and click on New Issue.
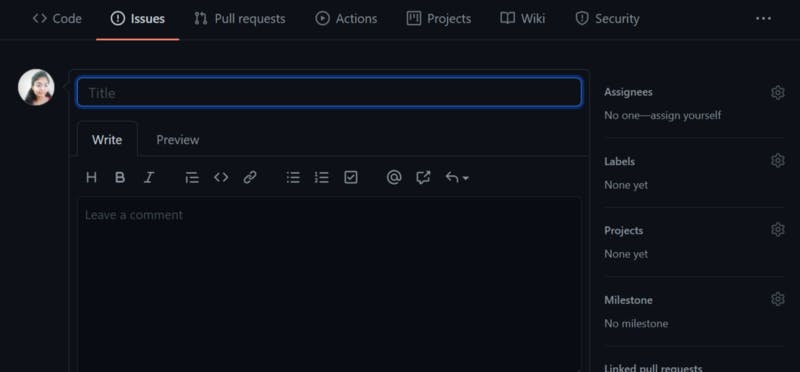
If you want to solve issues in someone's project then go to the issue and ask to assign the issue to you. Congratulations! You learn how to use Github.

Let's learn GIT
- Git is a free and open-source distributed version control system designed to handle everything from small to very large projects with speed and efficiency.
- Real-life projects generally have multiple developers working in parallel. So a version control system like Git is needed to ensure there are no code conflicts between the developers.
The first time while using git you should set up your name and email address using the below commands.
git config --global user.name "abc"
$ git config --global user.email abc@example.com
- Go to Git and in your folder which you want to host on Github.

- git init command adds a local Git repository to the project.
Staging and committing code
- First, you need to do staging your code. It is for keeping a record of files that you have added.
- Files that are not added to the staging area can not be committed.
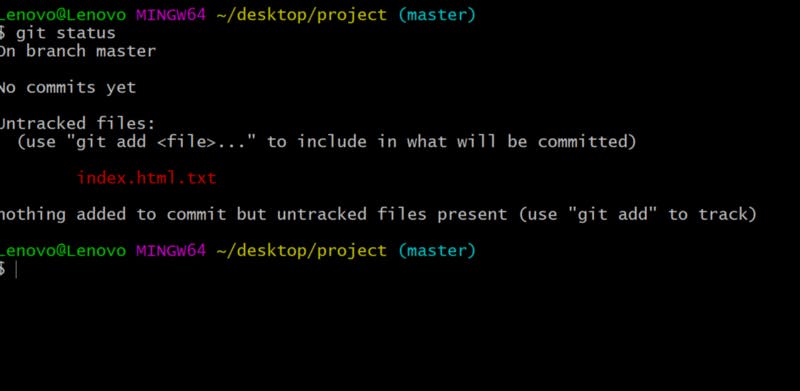
- git status is the command for that.
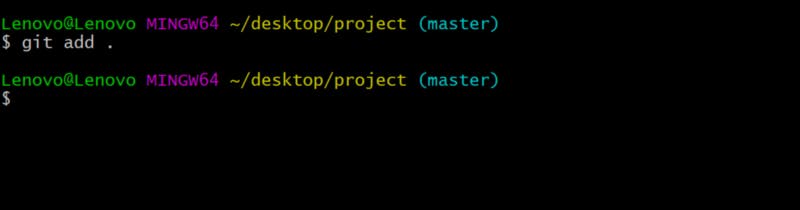
- For adding all files to the staging area write the command
git add.
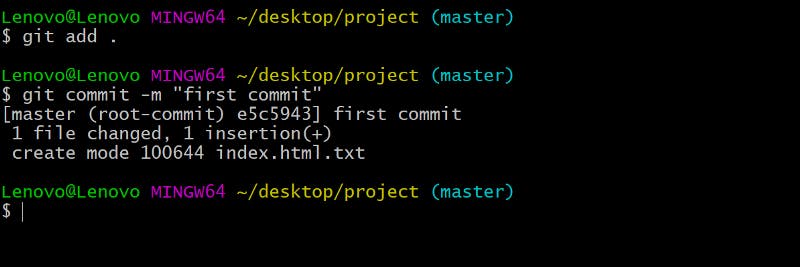
- Committing is the process in which the code is added to the local repository.
git commitis the command for committing and the first commit is the message.
Add remote origin and push code
- Every change you have made is in your local repository. It will not reflect on GitHub until you add remote origin and push your code. add your remote repository URL by git remote add origin URL(of the remote repository)

git remote -vcommand is for checking URLs of a connected remote repository.

- Now you can push your code to Github from your local repository to Github using the git push -u origin master command.
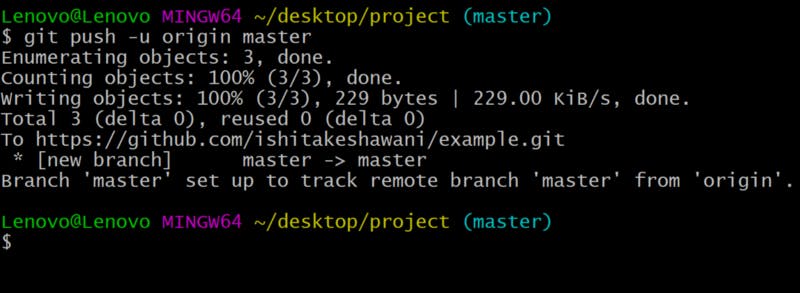
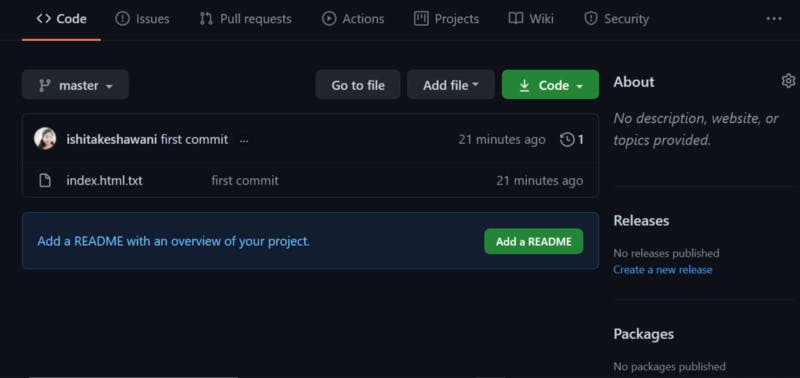
Now you can watch your project file on the Github repository like below.
Status
git status shows which files are modified and which are in the staging area.
Files that are in the staging area are shown green and files that are modified but not put in the staging area are shown red.
Log
git log command prints all commits till now.
Create Branch
For making a new branch use the git branch test command.
The test is the name of your new branch.
Switch to another branch
Git checkout main
The command for the switch to another branch main is the name in which you want to switch.
After using the above commands and doing practice you can easily host your projects on Github.

Clap 👏 if you find this blog helpful. See you at the next one!